


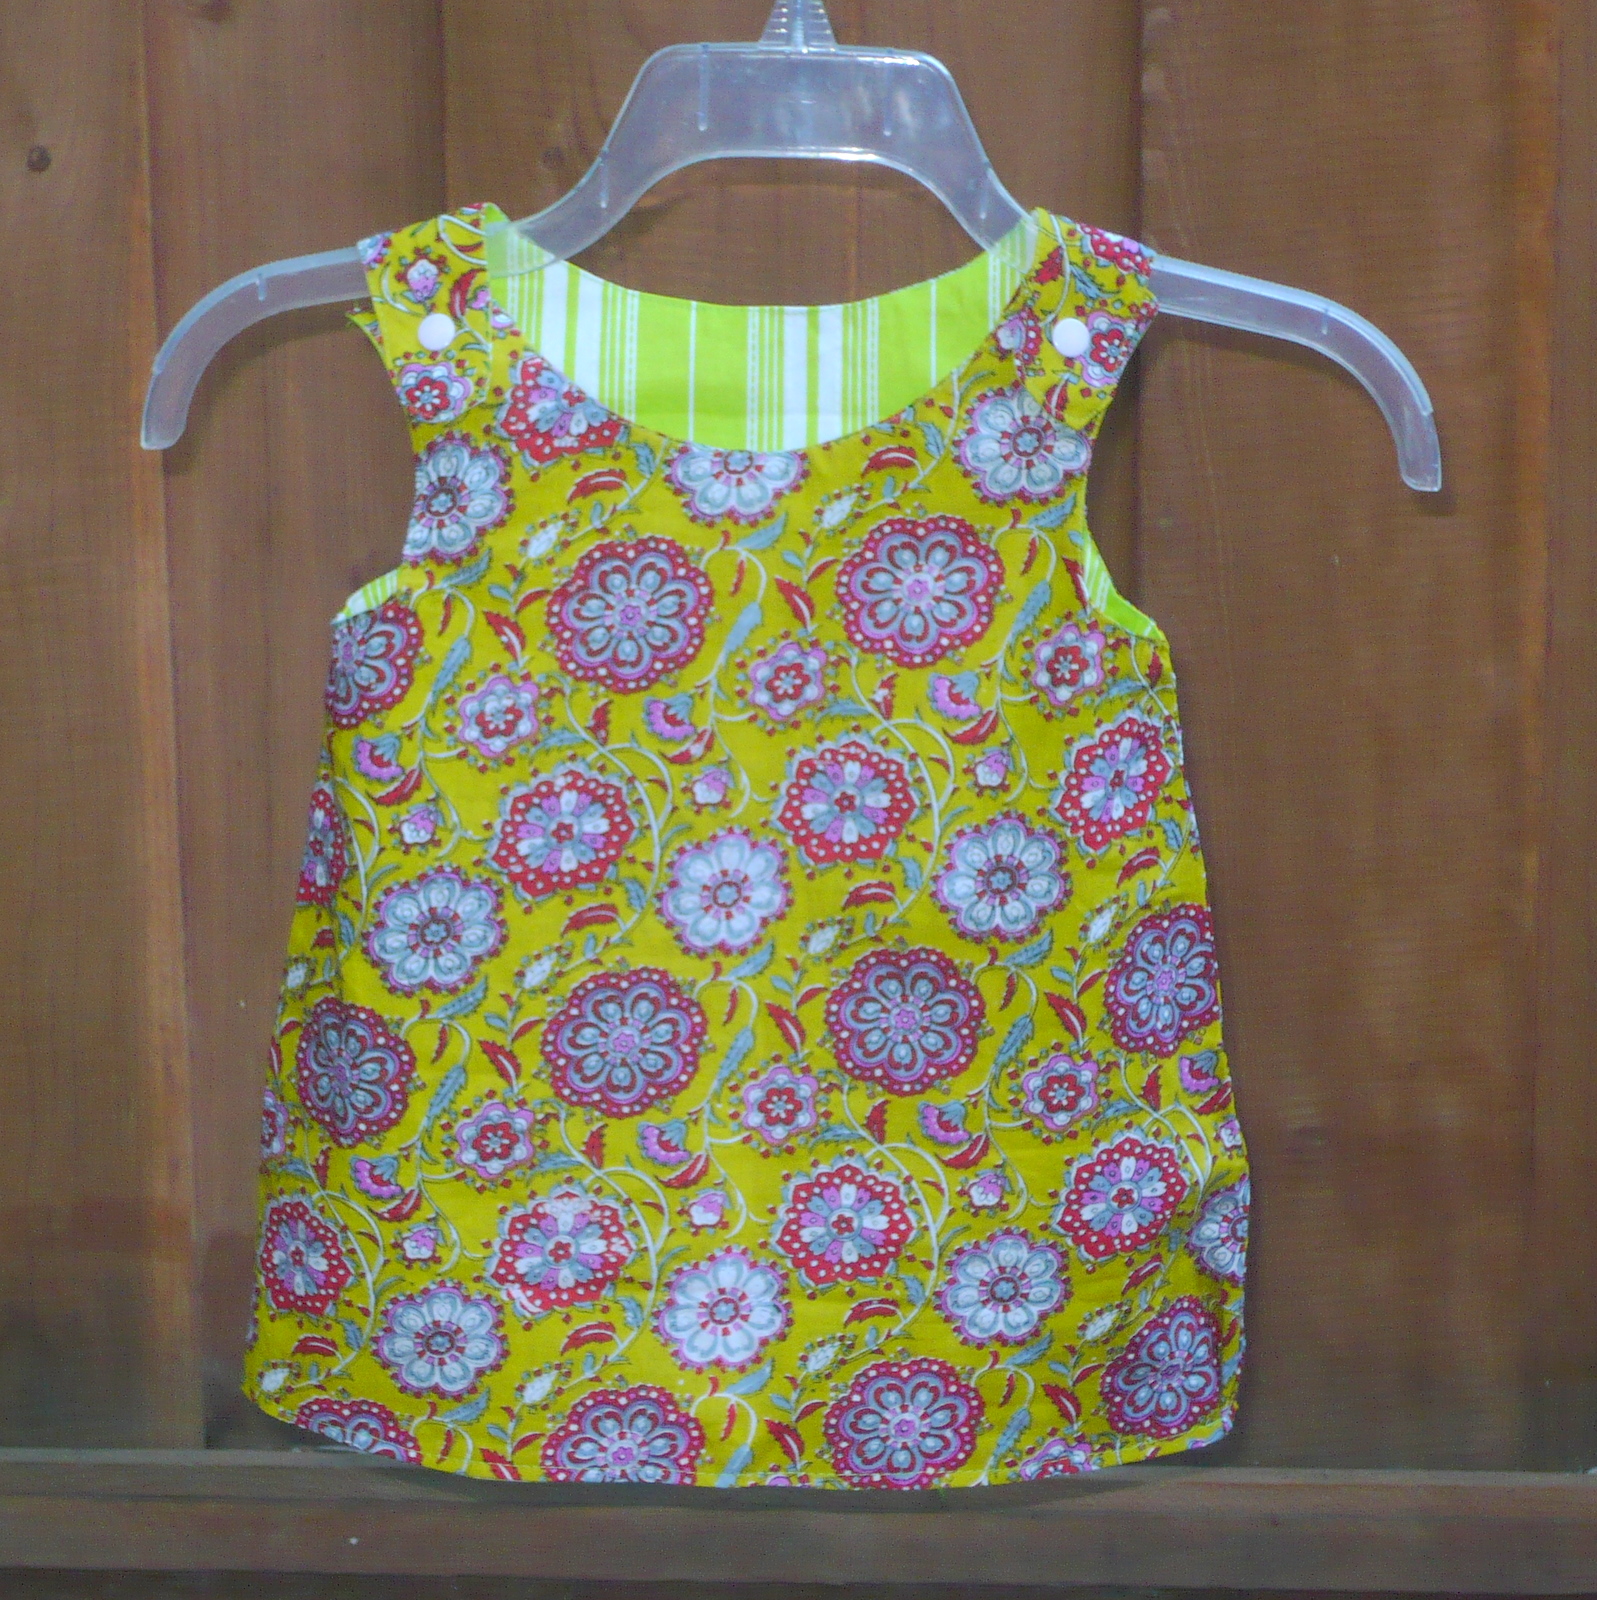
This week lets make an A-line reversible dress. When I thought about doing this tutorial, I was surprised at why didn't this idea came to me earlier. This dress has very simple cutting, and very simple sewing and yet the finished garment looks something that would take a lot of effort. A perfect sew easy.
Not only is this easy to sew, its also very easy to put on the child and take off. And if she spills some sauce on one side just put it on from the other side. No wonder the first name that came to my mind was Zen Dress.
So lets get started.
Supplies:
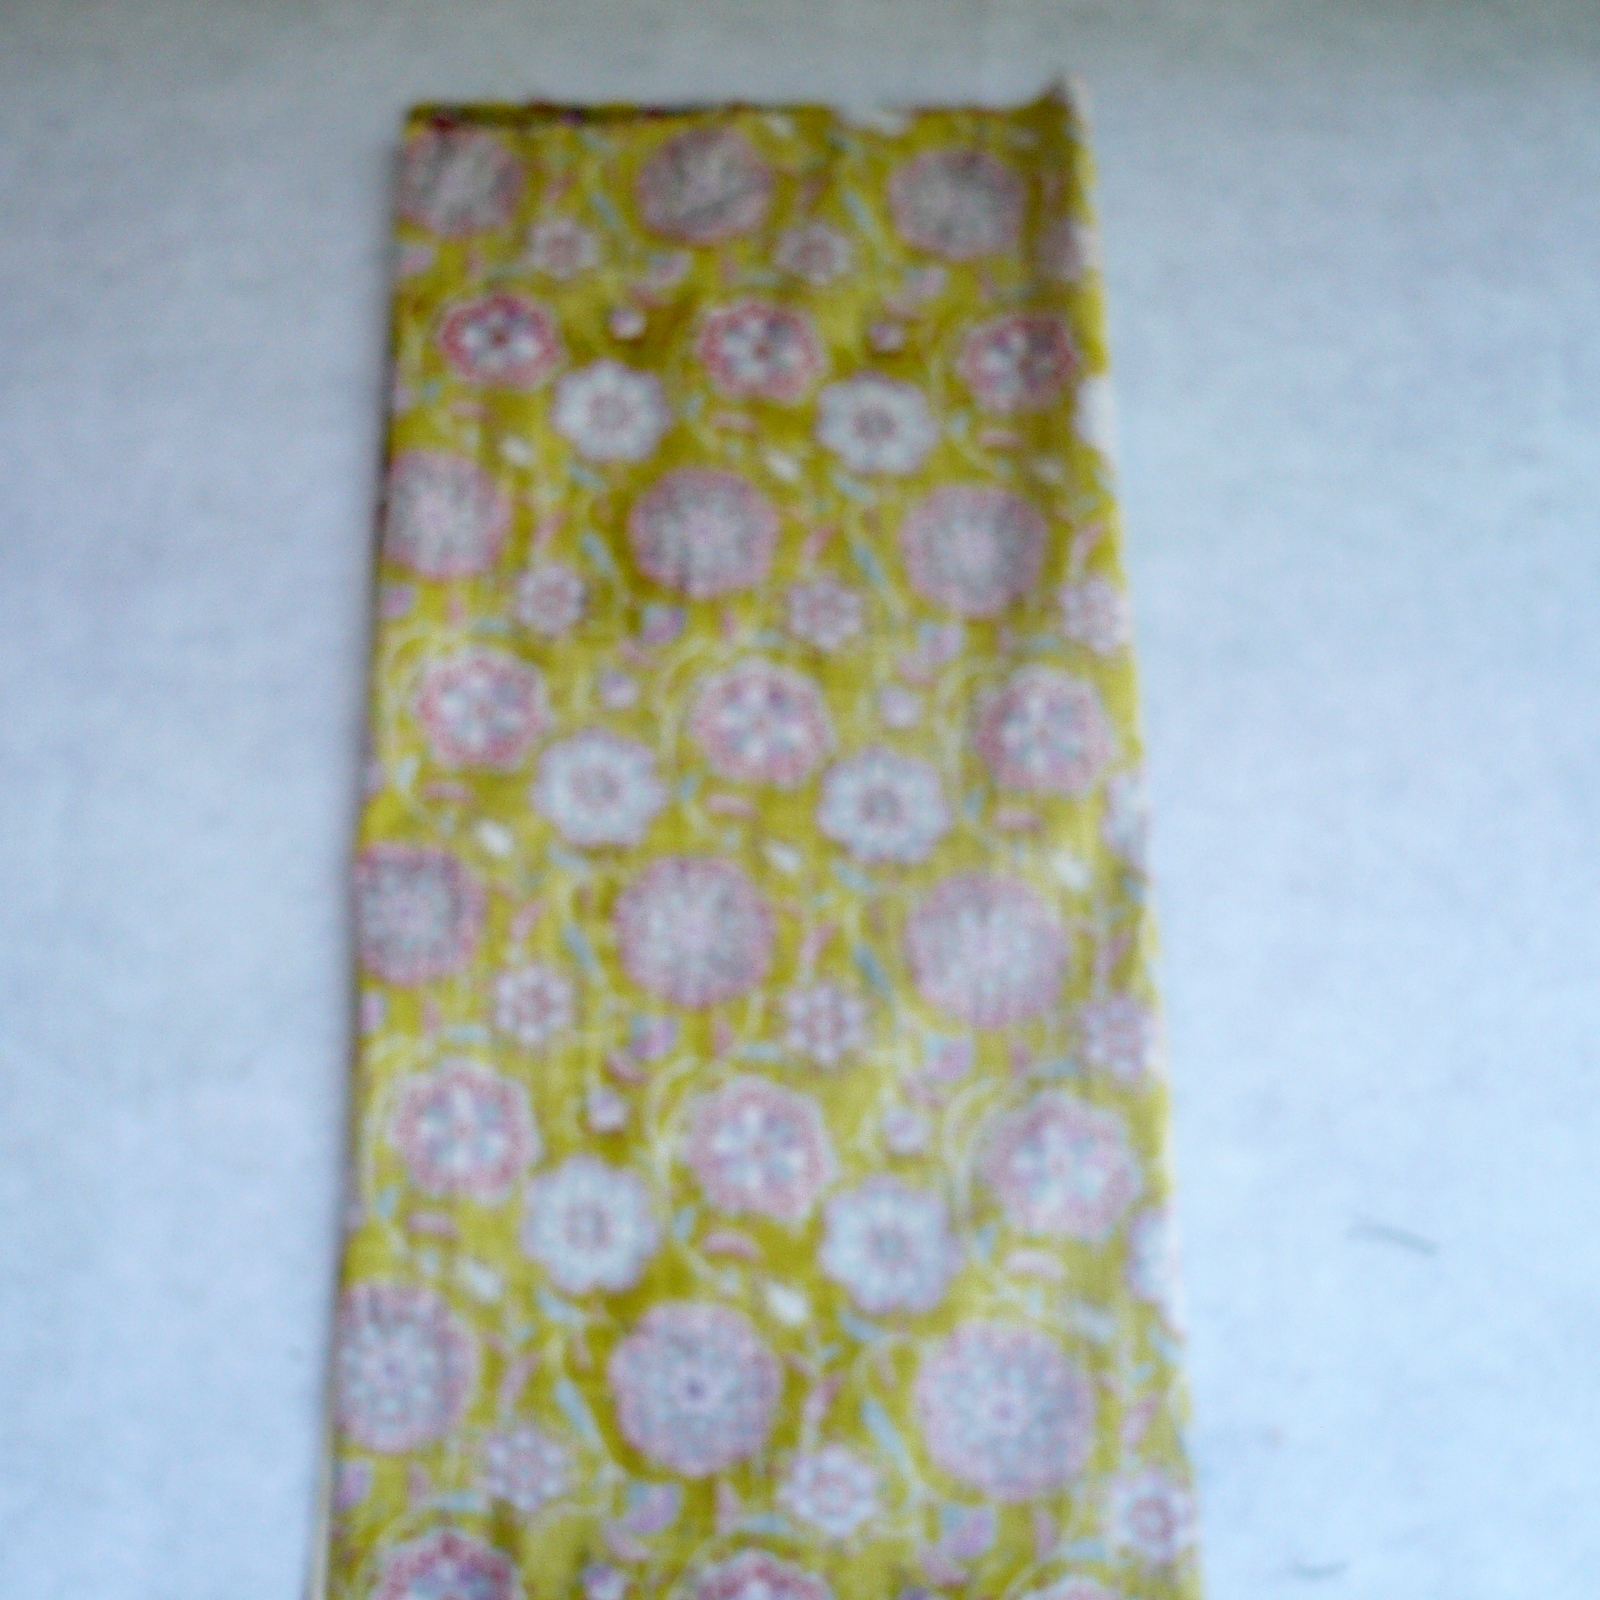
Two coordinating fabrics half yard each
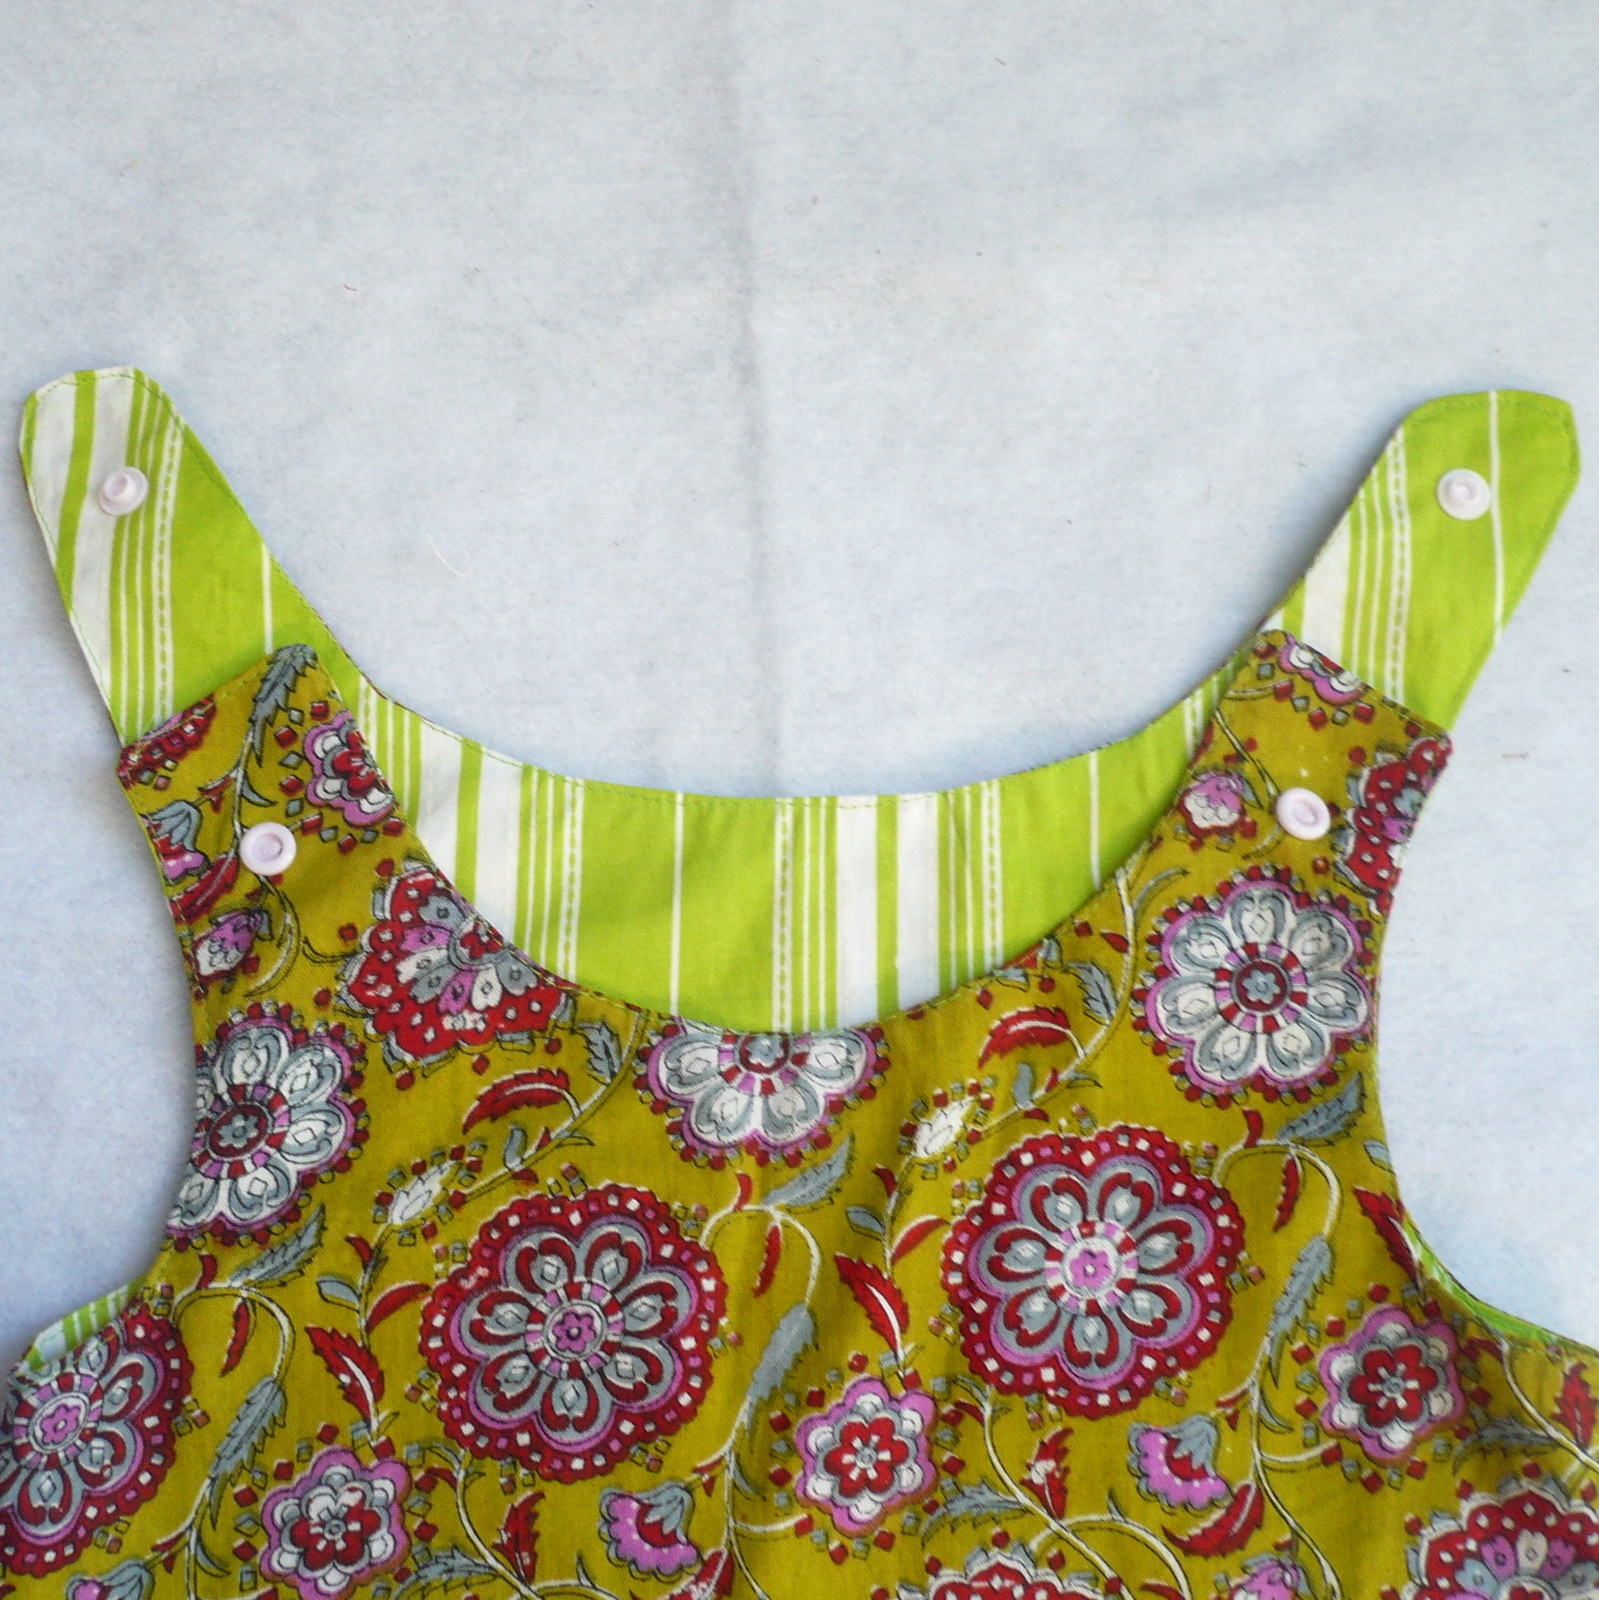
Two set of closures of some kind ( snaps, Velcro, buttons etc)
For measurement: An A line dress that fits the child.
Cutting:
Lets lay out the fabrics first ( lets call fabric 1 - F1, fabric 2 - F2 )

Fold it again lengthwise in half.


Mark the neck front.

Draw an outline around the dress with some margins at the side seams for seams. I have kept the margins more because I wanted the dress to be wider than the original.
When you reach shoulders just extend the neck and armhole such that it extends 2.5 to 3 inches above shoulders and then round it towards the end.


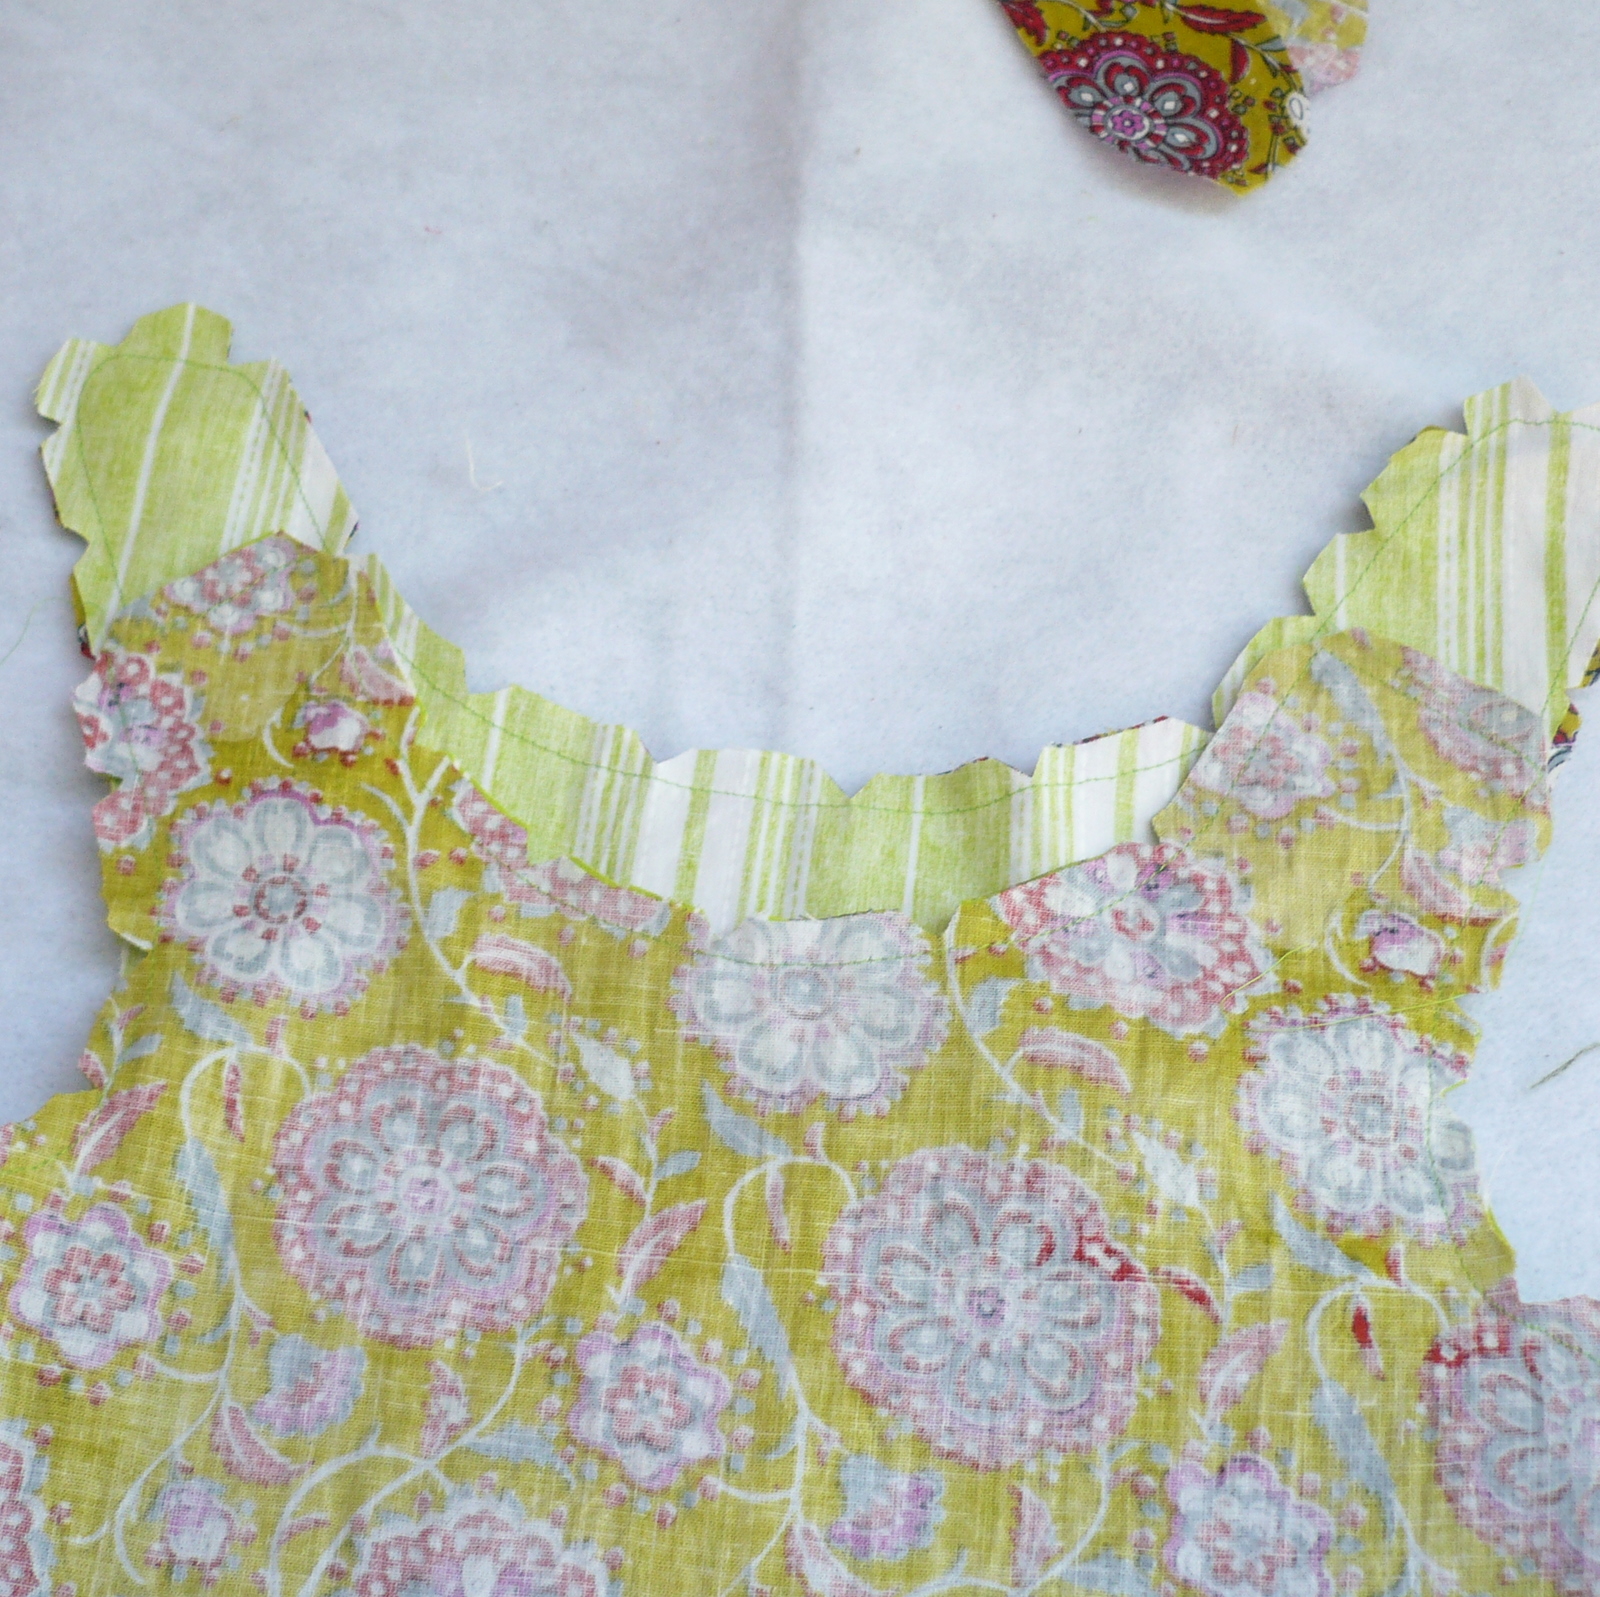
Also draw a line 1 inch above the shoulder as shown in the pic above.
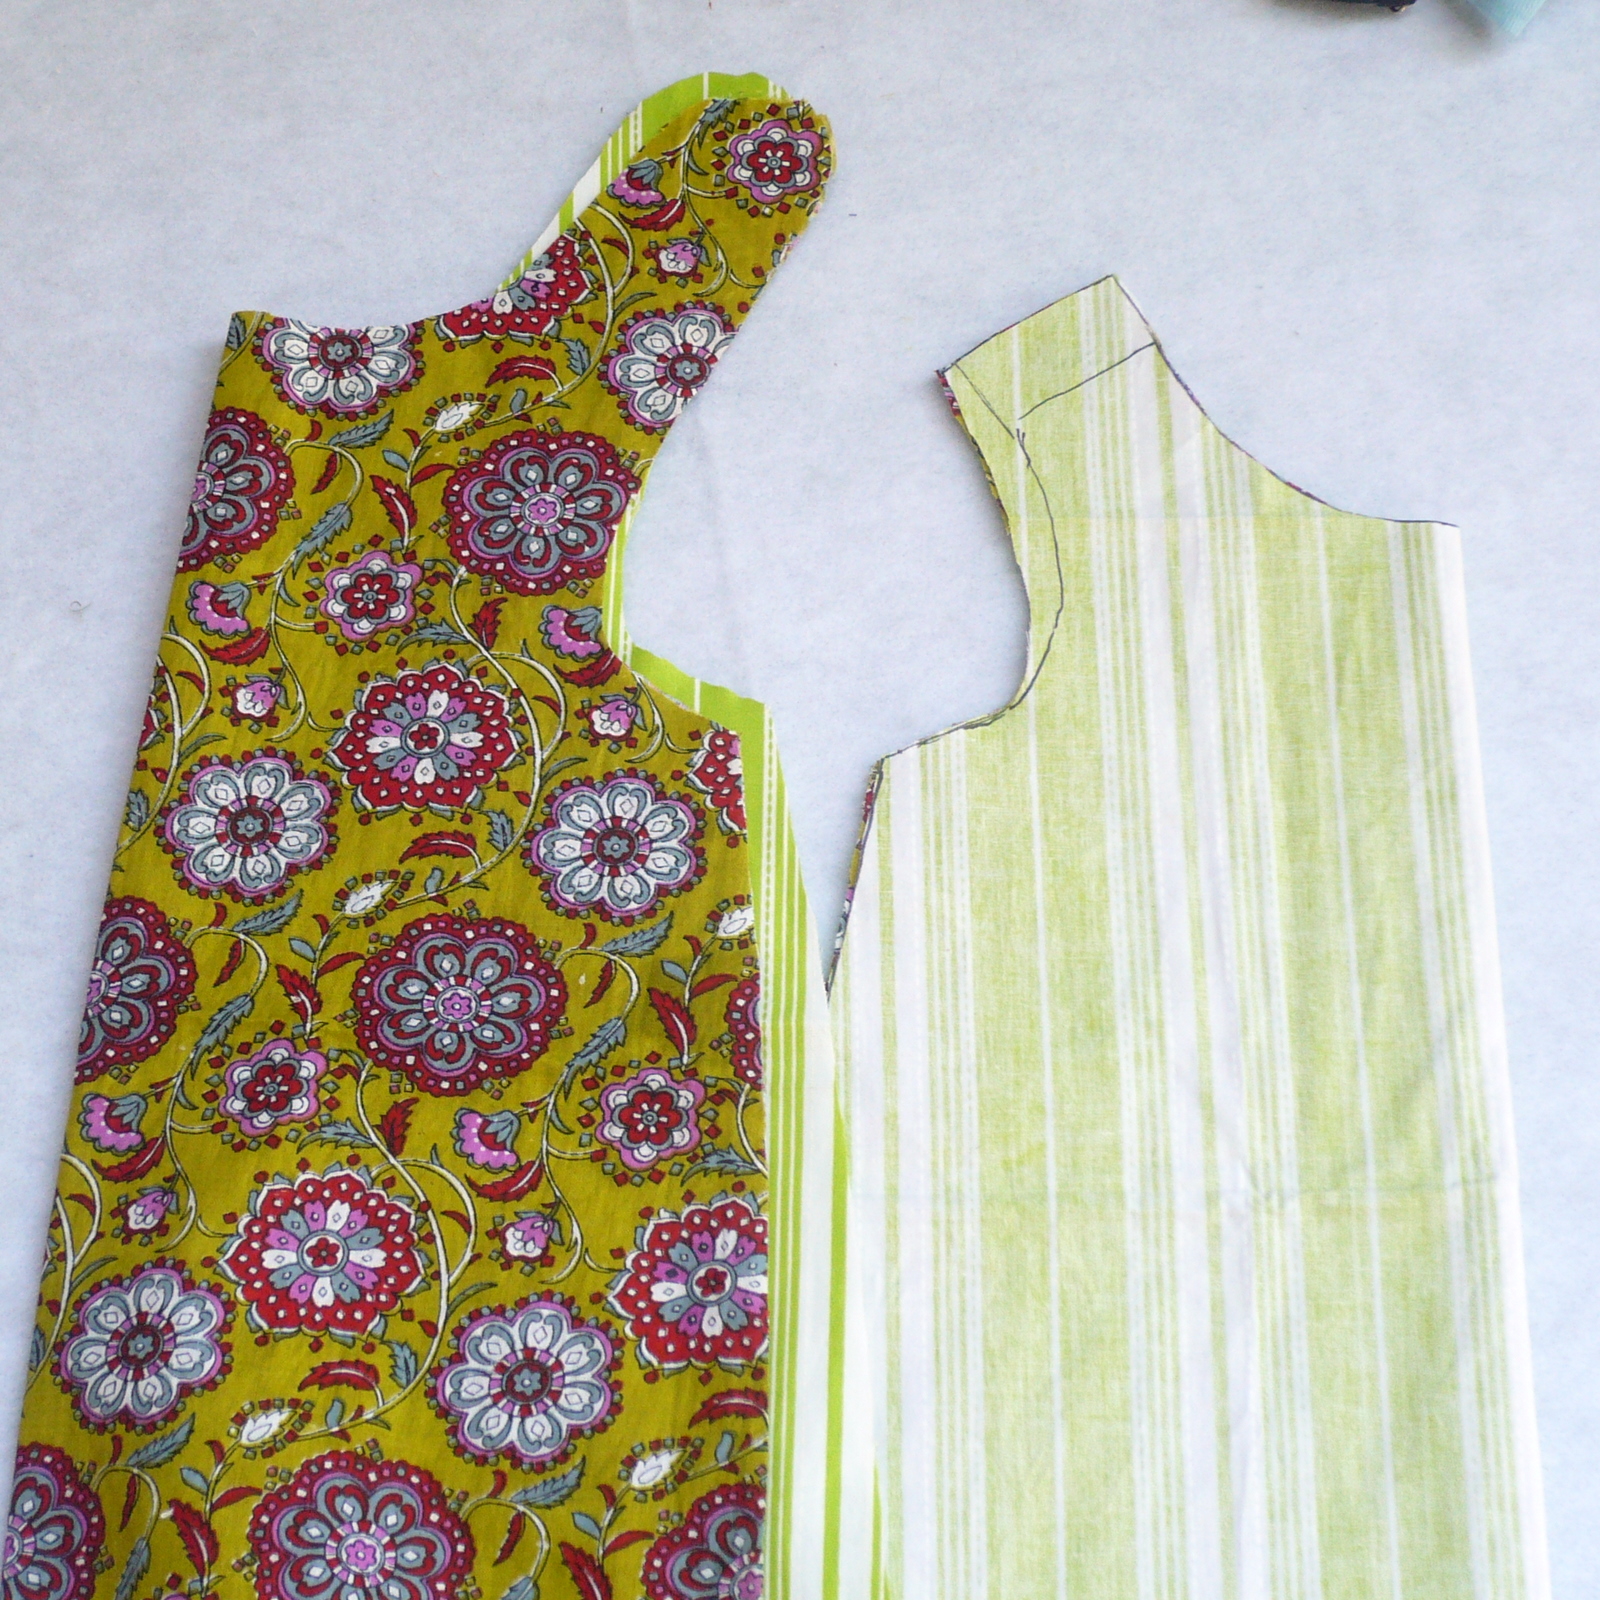
Cut the deeper front neck and the line above the shoulder that we just marked. In the above pic the back pieces are on the left and the front pieces are on the right.

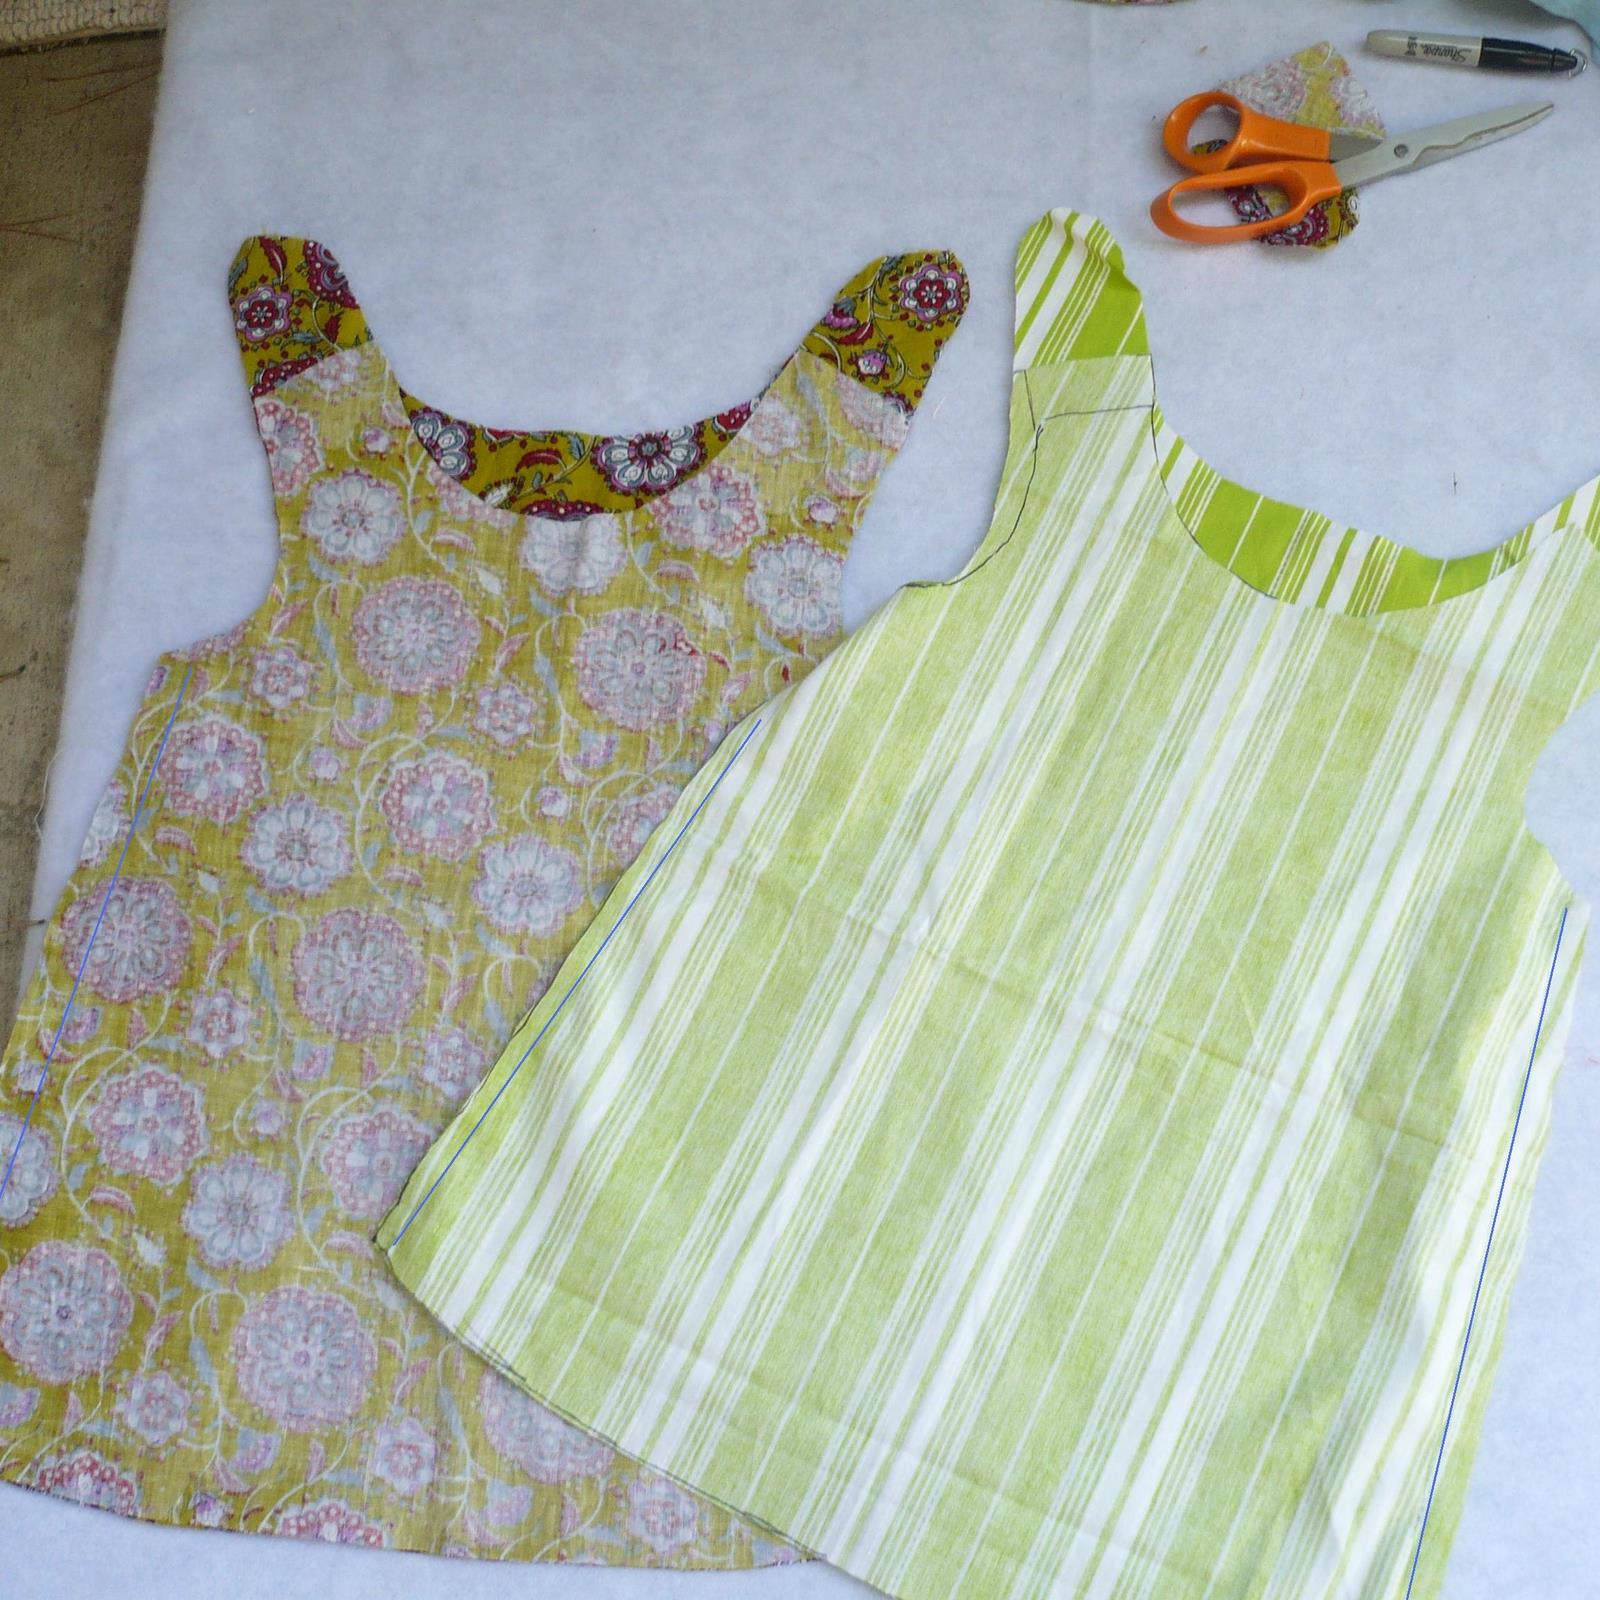


and continue on shoulder, armholes, back shoulders, neckline etc until you are back at the starting point. Go easy and take your time aligning F1 and F2. This is a very simple dress with just 4-5 seams total, but if you mess up the alignment of the two fabrics, you will be left with a wonky garment where one fabric will be doing a peek-a-boo on the other side.

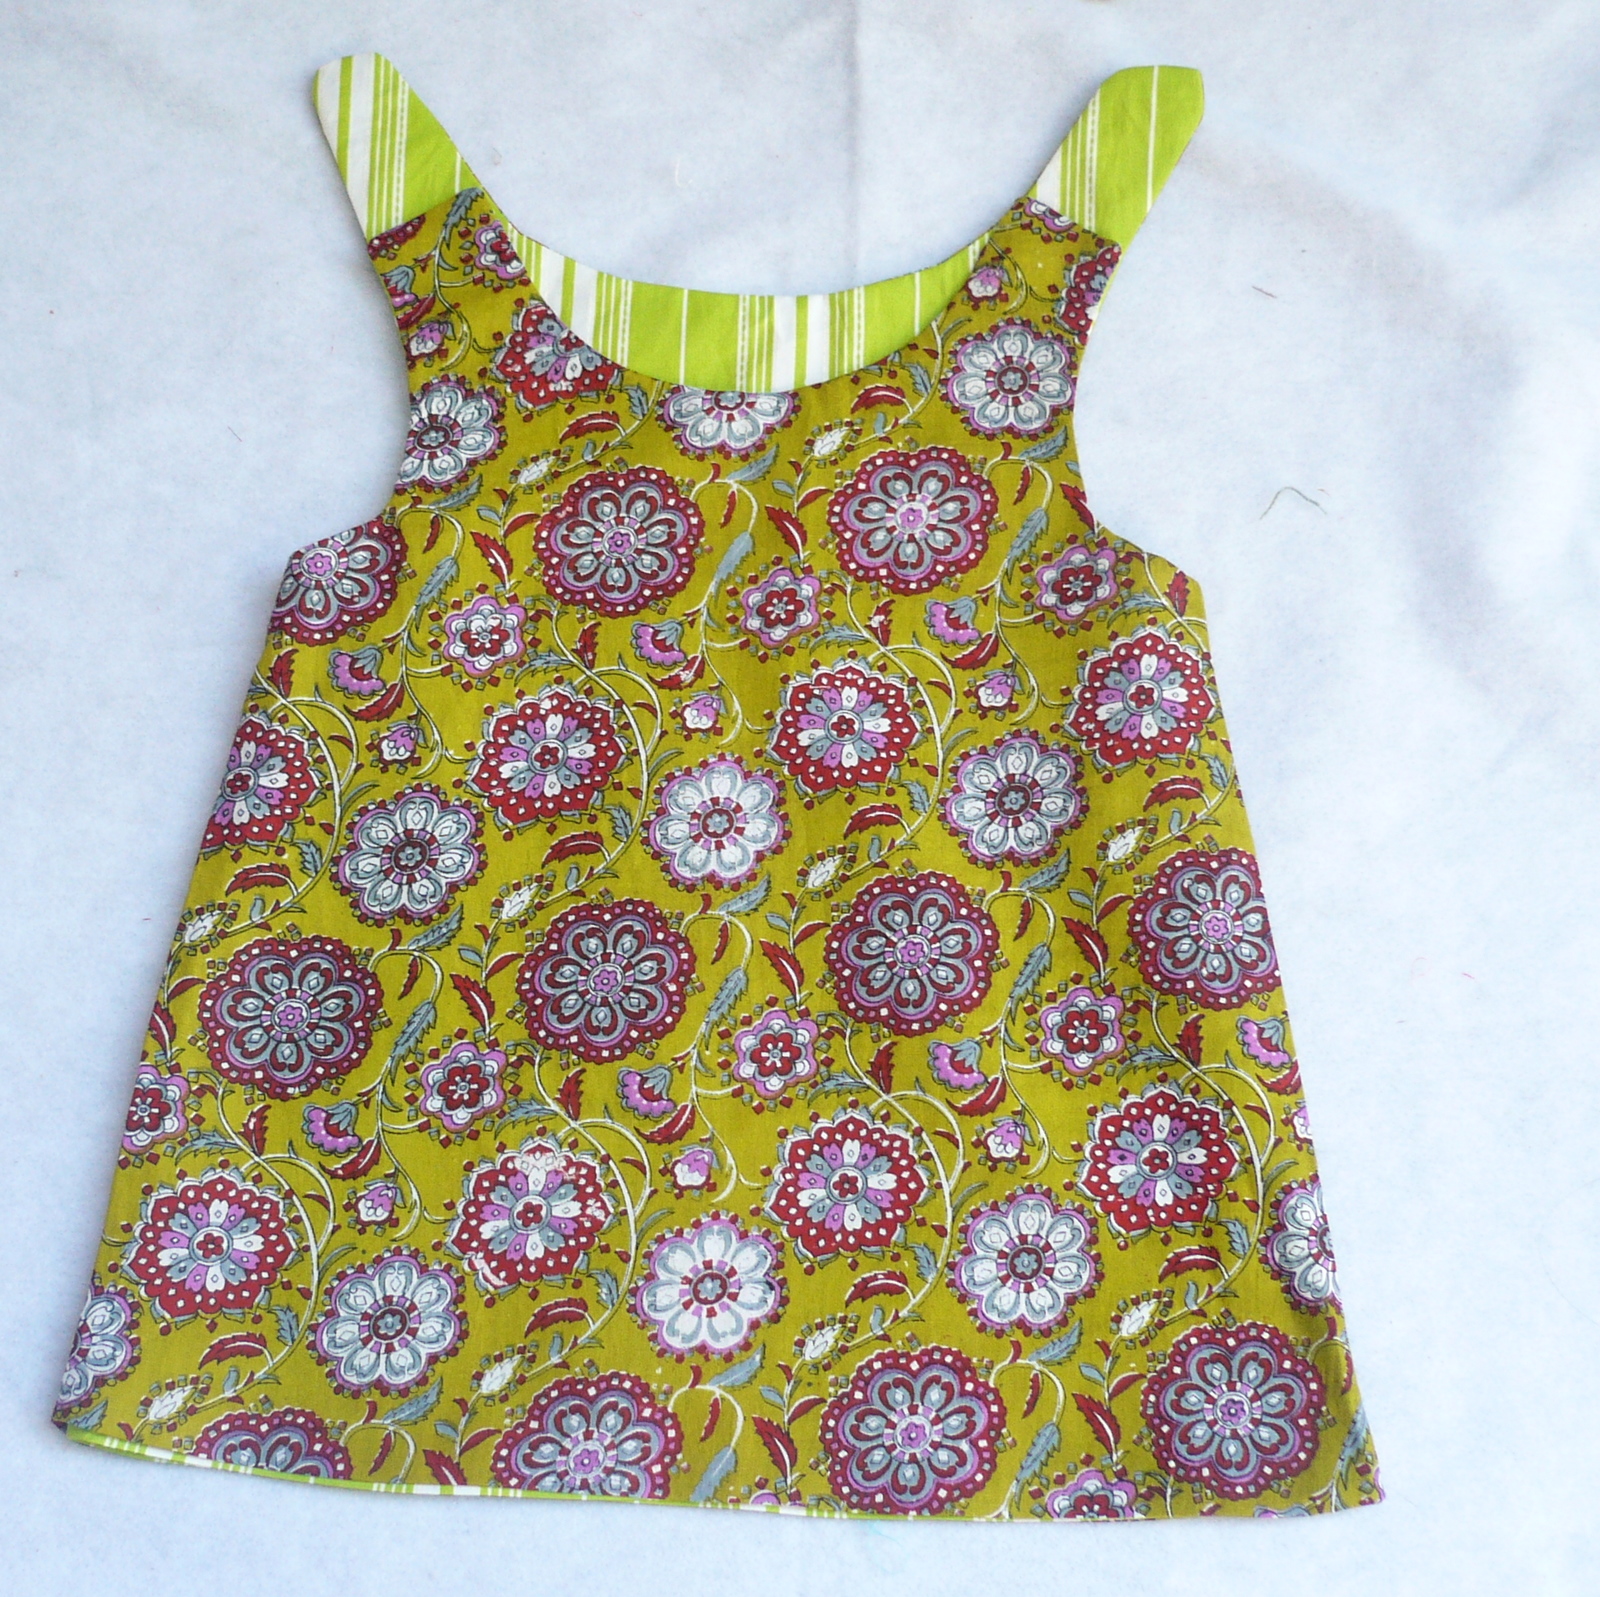

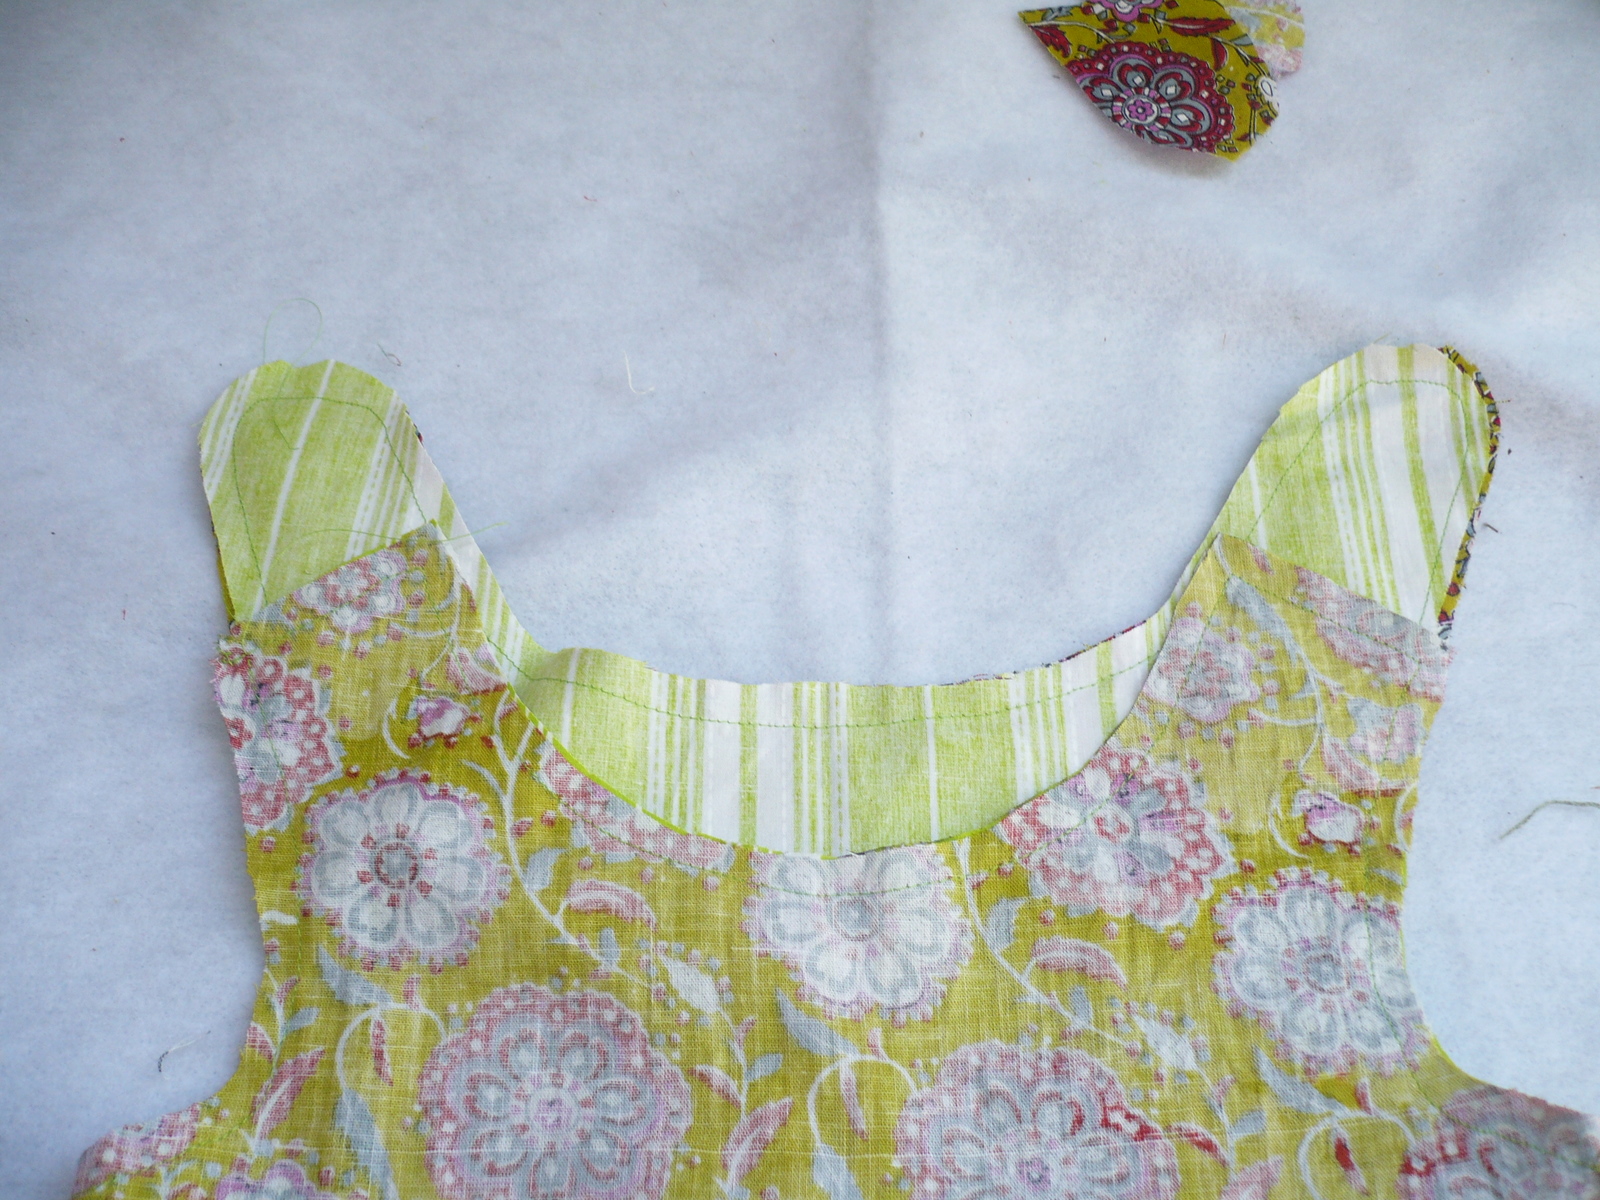
Top-stitch the hemline with both F1 and F2 together.
I also recommend top-stitching the neckline ( which here means neckline, shoulder, armholes) though its not necessary.
.

Here are the links to more editions of the Sew Easy sewing tutorials.
Sew Easy Part 7: Knotted Fringe Dress Sewing Tutorial
Sew Easy Part 8: Circular Bodice Dress Sewing Pattern
Sew Easy Part 9: Layered Knit Skirt Sewing Tutorial
Sew Easy Part 10: Striped Knit Jumper Dress Sewing Tutorial
Sew Easy Part 11: Nordic Prince Tuxedo Tshirt Tutorial
Sew Easy Part 12: Layered Skirt with pickups sewing tutorial
Sew Easy Part 13: Box Pleated Skirt Sewing Tutorial
Sew Easy Part 14: Nautical Dress Sewing Pattern
How cute! Thanks so much for sharing!
ReplyDeleteI'd love to have you visit our first linky party this Thursday! It's a party specifically for kids and teenagers craft and other ideas, so your idea will be absolutely perfect! Hope you'll stop by!
bearrabbitbear.blogspot.com
What an adorable dress. Thank you for the tutorial. If you get a chance I would love you to link your dress up to More the Merrier Monday. It lasts through Wednesday so you have plenty of time to stop by. See you there. http://diyhshp.blogspot.com/
ReplyDeletelove it reversable and such an easy way to make it
ReplyDeleteThis is absolutely adorable. I have made many of these dresses for my daughter and I think they would be awesome reversible. I am bookmarking for future use. Thank you for your wonderful explanation.
ReplyDeleteThis looks great! I wish I had your talent to make clothes for my kiddos! Super cute! Thank you so much for sharing this at my Favorite Things Friday Party! I can't wait to see what you link up this week! My party is now live.
ReplyDelete~Iffy~
Very cute! I love reversible clothes for kids. The tutorial is also great. Thanks for sharing. I hope to see you again this week.
ReplyDelete:)Rachel
That is darling! So cool you made it reversible!!! Thanks for sharing this and all your lovelies on Fancy This Fridays!!!
ReplyDeleteI just LOVE this dress! Thanks for linking to the Tuesday To Do Party!
ReplyDeleteSmiles!
Jami
www.blackberryvine.blogspot.com
Beautiful.. I wish I knew to stitch...not just hem...
ReplyDeleteLove the creation and love the fabric...
This looks really cute and simpler than the other dress I've tried. I think I'll attempt this next. =]
ReplyDeletehttp://curiouseranndcuriouser.blogspot.com/
so adorale and simple enough for someone like ne with minimum sewing skills.
ReplyDeleteGreat fabrics for the reversible dress! I just saw your Selfish Sewing shirt you made. Super cute!! I can't wait to check out your other tutorials.
ReplyDeleteJenny
www.seaminglysmitten.blogspot.com
Hi! I featured you in my blog. I hope you can stop by at www.do8urself.blogspot.com
ReplyDeleteJudy
DIY Addict
Love it!! My stepdaughter gave birth to a baby girl today and I am already planning out this dress for her. :-) Thank you so much!!!
ReplyDeleteThis is it! This is the practical and cute dress I have been searching for as I start sewing for my little gal. Thank you so SEW much! :)
ReplyDeleteYou could also sew both pieces together at the bottom round the hem line before turning the dress right sides out.
ReplyDeleteJadwal Update Sabung Ayam SV388 20 Februari 2019 di Situs Judi Sabung Ayam Online Melalui Agen Resmi Taruhan Sabung Ayam Live Asli Thailand.
ReplyDeleteJudi Sabung Ayam – Jika ingin mendaftar Games Permainan Sabung Ayam Khusus SV388. Cara untuk deposit atau withdraw, Anda bisa langsung kunjungi website kami atau langsung hubungi Customer Service kami melalui Livechat yang tersedia di website ini untuk melakukan semua Jenis transaksi Yang Ada.
Untuk Info Lebih Lanjut Bisa Hub kami Di :
wechat : bolavita
line : cs_bolavita
whatsapp : +628122222995
BBM: BOLAVITA
wow! this I must try!- Suzie from Sweden
ReplyDeleteThis Nanny dosnt have a dress to use as a templet dose anyone have a pattern for sz1
ReplyDeleteThis is a wonderful pattern. I think it's really cute. Two for one!
ReplyDelete